NOTE: These memory chips require a 512 refresh cycle, while the Coco only provides a 256 cycle refresh for DRAM refresh. This makes the board only work as a 256k board. There are many other upgrade options available now and this solution is not optimal. I am leaving this project up for reference purposes.
The Problem
Back in 2003, I was trying to figure out why one of my 16 chip memory board had stopped working for some reason. I actually solved my problem by wiring up a couple of 256k SIM modules using a schematic I found on the internet. That got me thinking about trying to create a whole new solution for memory upgrades for the CoCo 3.
Over the years I have collected many old ISA cards, always thinking about ways to wire them up for use on the CoCo. This time around I found it easier just to take the memory chips of some of the 512k -1MB boards and using them for a 512 memory upgrade project.
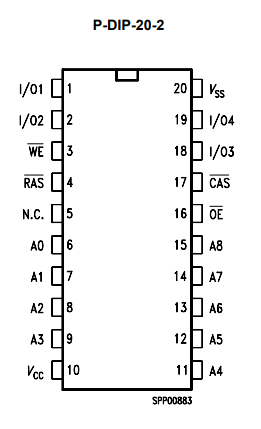
DRAM DIP pinout
The Solution
I needed a reason to design my own board and have a couple of them made. Making my own boards sounded like a great challenge as I have never tried anything like this before. Checking my latest edition of Circuit Cellar I found several programs available for use in creating circuit boards. A program from Autodesk EAGLE seemed like a good fit for this small project. It includes a free edition that even handles auto-routing. The board size in the free edition is rather limited and there is also a 2 side limit.
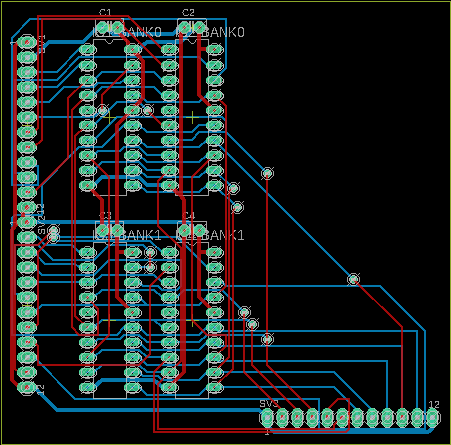
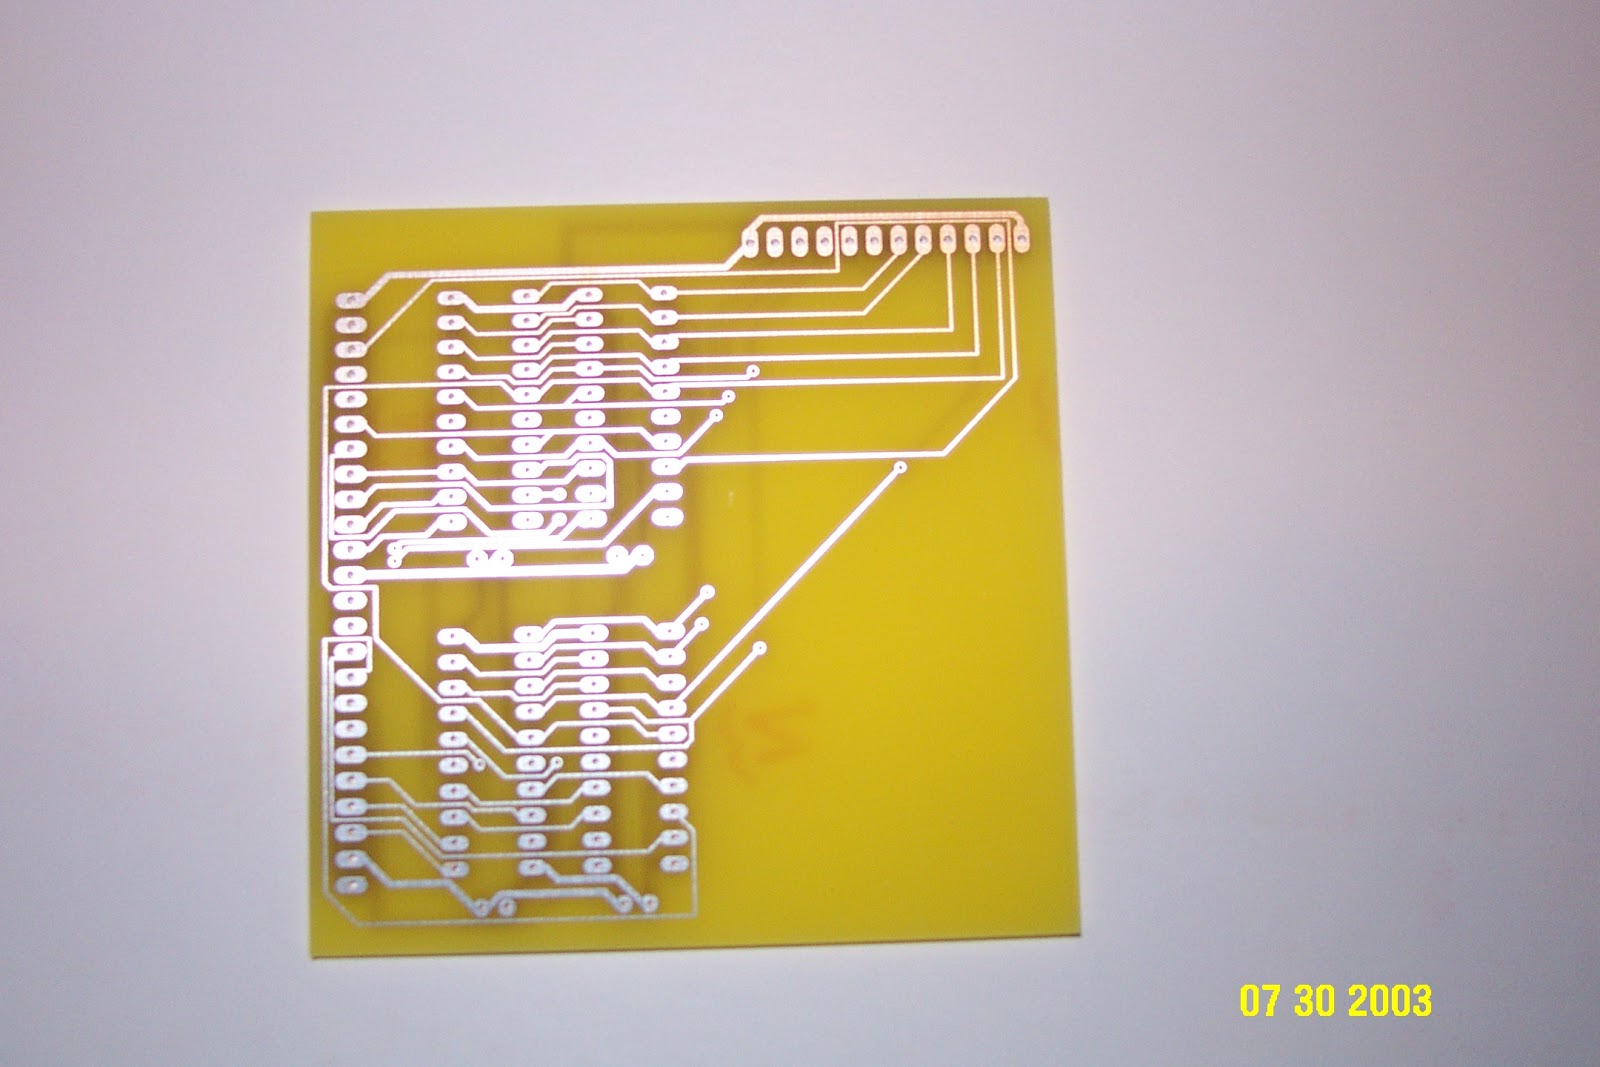
Board layout
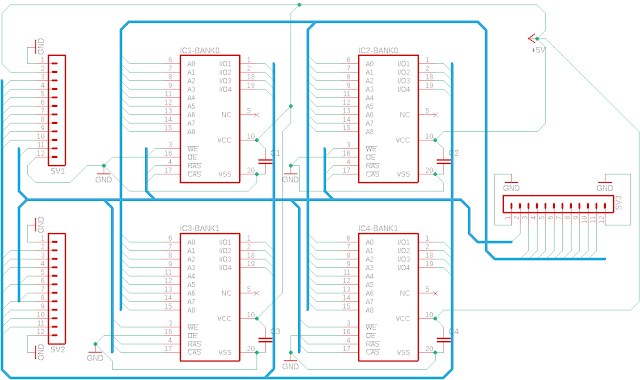
Board schematic
The Result
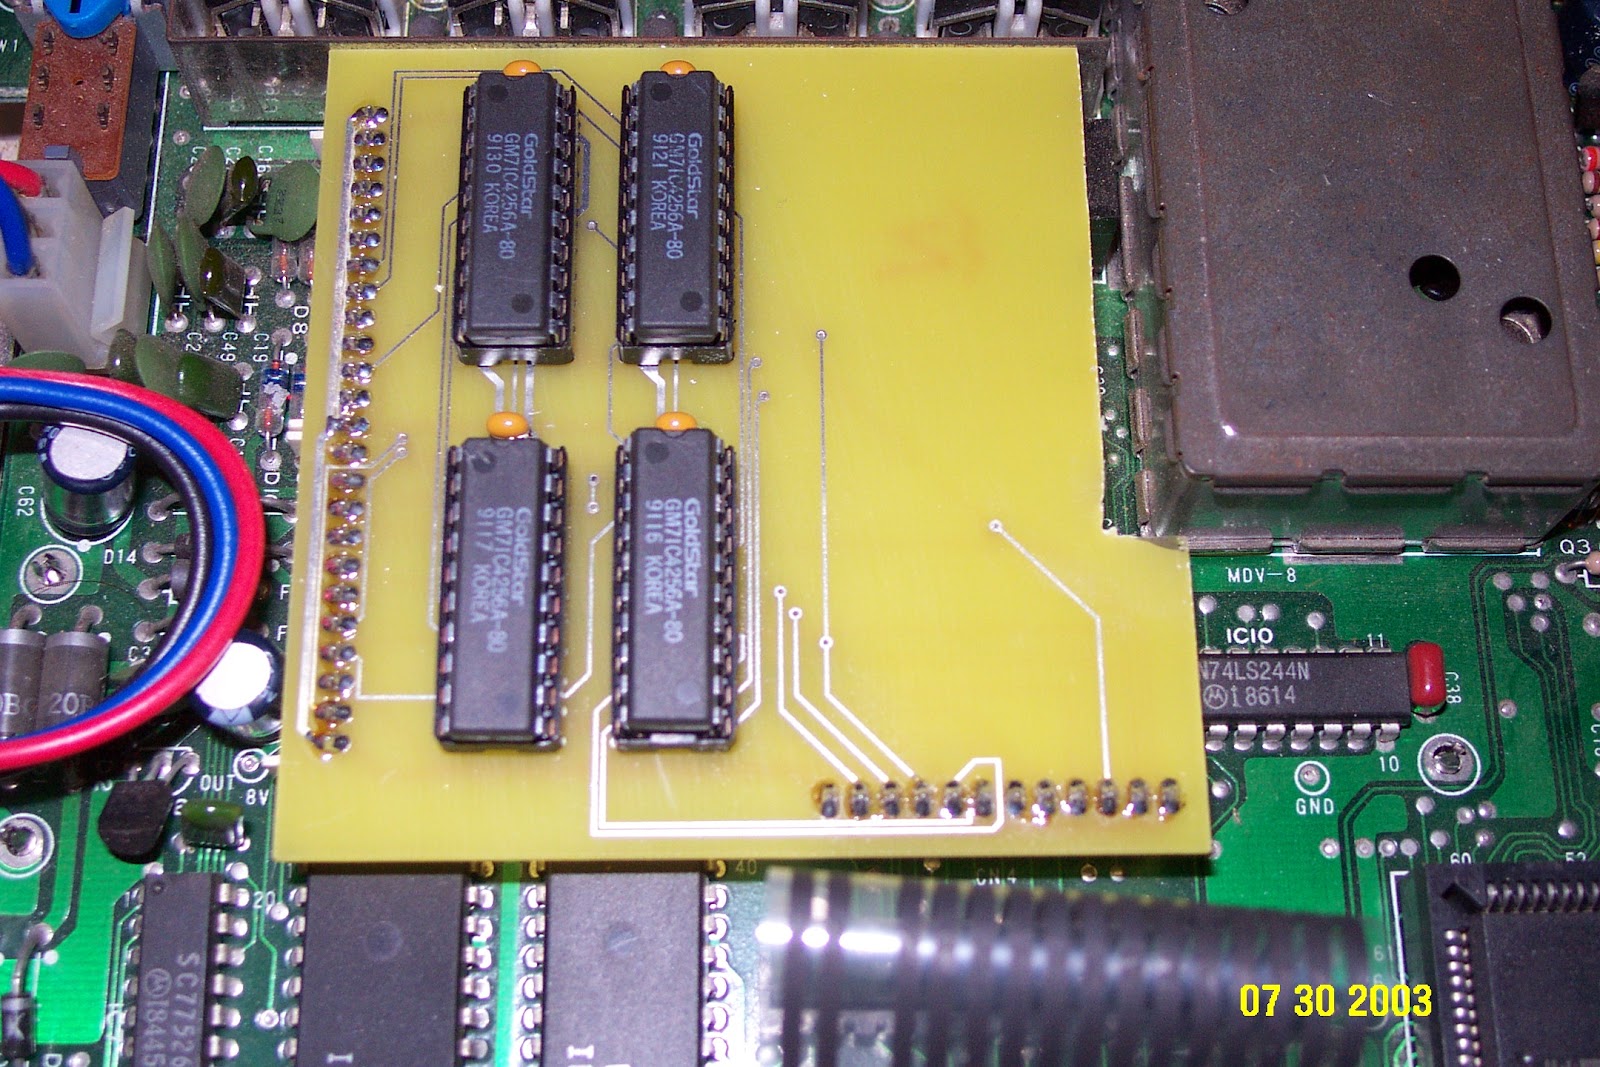
After having two boards manufactured I was ready to test out the final product. I pulled the memory chips off of the ISA VGA cards and added them to my new four chip memory board. I plugged in the memory board into my CoCo 3 and crossed my fingers and, success on the first try! After further testing, I found the issue where this board is only working as a 256k board. Due to the board not working as a 512k board I could no longer use it in my system.
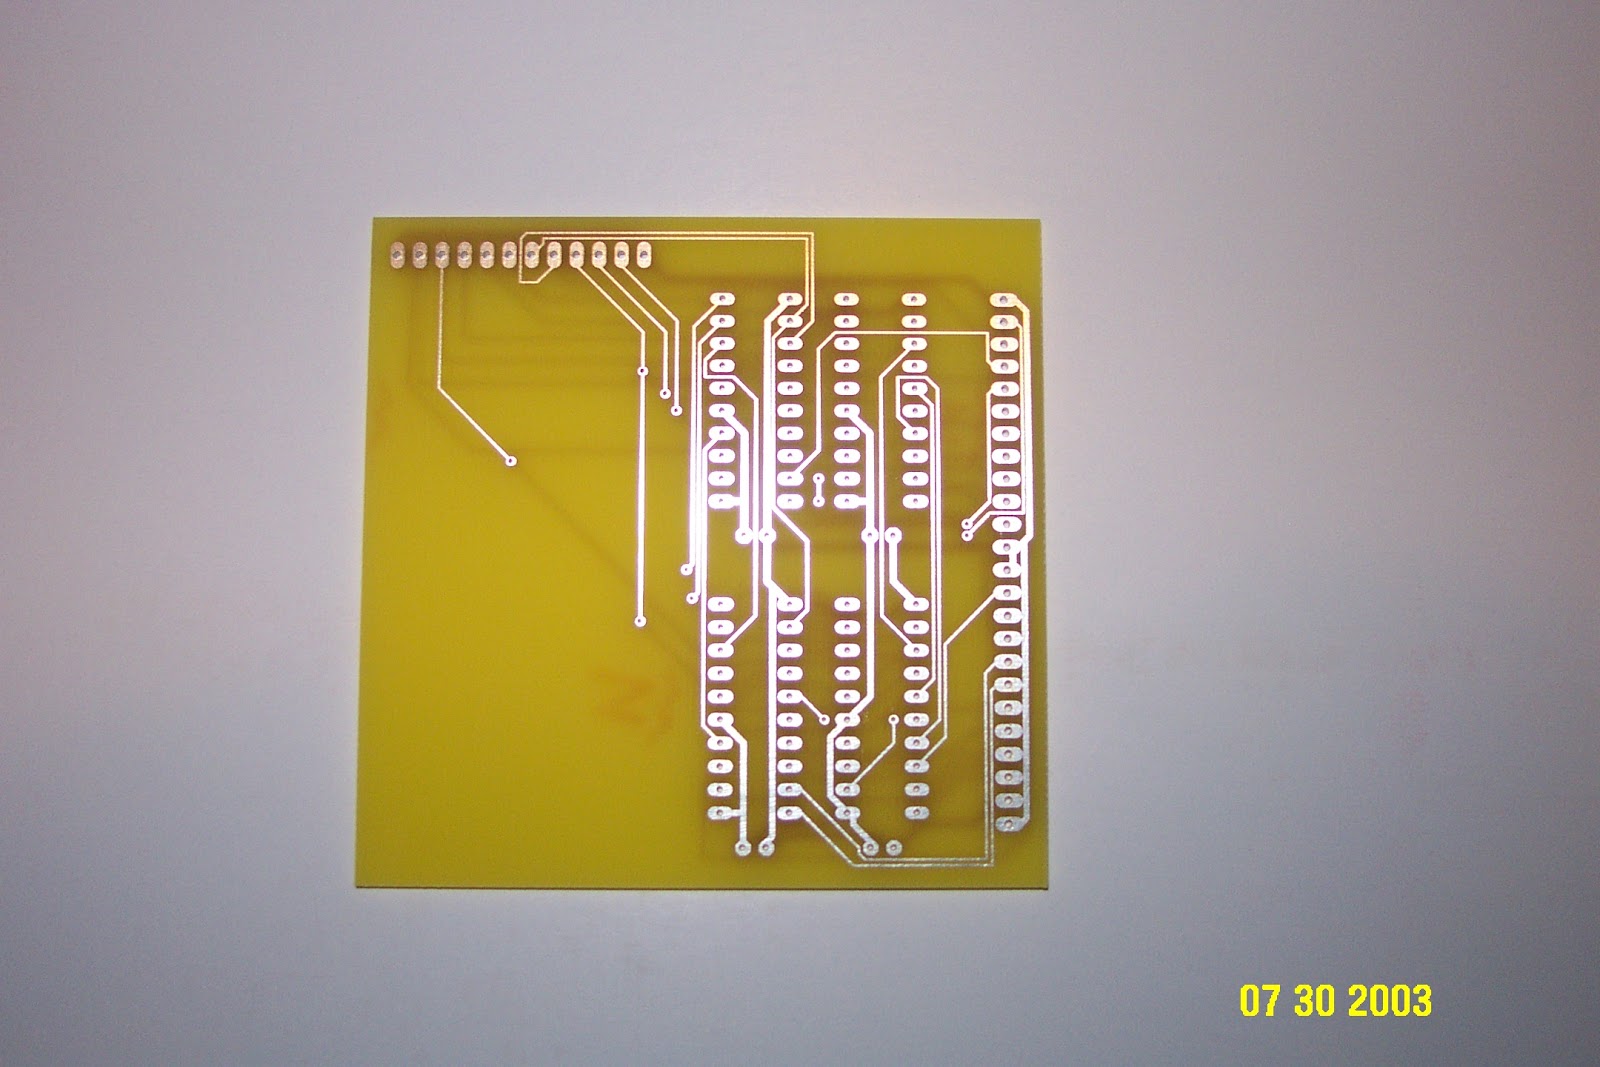
Front and rear board photos
Coco 3 with the memory board installed
Note: I have to trim the board a little by hand so it would fit


No comments:
Post a Comment